
Defending the Internet with Project Meshnet
Topics related to Internet censorship have been over much debate in the last few years. The main purpose of such internet censorship acts is to deny access to certain information on the internet. This information can be censored throughout the world, or in some cases could be limited to certain countries. Some countries even have their own censorship policies. One of the many examples of such acts is the very famous SOPA (Stop Online Piracy Act), which had provisions to protect the publication of copyright intellectual property on the internet. There are many ways to censor information on the internet like IP address blocking, DNS Filtering, URL Filtering etc.
In the past, concerns have been raised over whether Internet censorship is the answer to protect things like online piracy. This is because a site like Google or Facebook that allows its users to share information is not viable for the content that the users put into it. These websites also have facilities where copyright holders can file a complaint and the content could be removed. However, with internet censorship it is possible to block the entire website for the users. An act which has this much power to take down an entire website like Facebook, Twitter basically means the suppression of technology and of a free Unified and Open Internet.
Project Meshnet
Project Meshnet (originally called the Darknet) was born out of this concern and aimed towards setting up an open decentralized and censorship free internet. The project started with a discussion on reddit here. It was called Project Meshnet as it used the Mesh networking topology in which every node must not only capture and dissemninate its own data, but also serve as a relay for other nodes in the same network. This makes it completely decentralized, i.e without any centralized authority thus making it impossible to censor any form of data.
Project Meshnet is still in its alpha stages and is available for testing purposes to its users. The future aim of the project is to use a combination of hardware (called Mesh islands) and software (called CJDNS) in setting up a decentralized internet. CJDNS is a routing engine which helps us communicate over the mesh network. Right now, the communication happens over the current internet infrastructure over a network called Hyberboria. The future aim of the project is to set up its own hardware across the globe through which the communication will take place.
How Does it Work
The meshnet network is built out of its users. The future aim of the project is to have multiple computers connected to each other through a wireless connection over a virtual network interface which we will see soon. All the information is cryptographically protected, meaning that only the user at the destination can see the actual data. Packets are directed from the source to the destination through an intermediate set of nodes until it reaches its final destination. The flow of packets is explained in the wiki section on project meshnet’s website. Here’s what it says..
“In the cjdns net, a packet goes to a router and the router labels the packet with directions to a router which will be able to best handle it. That is, a router which is near by in physical space and has an address which is numerically close to the destination address of the packet. The directions which are added to the packet allow it to go through a number of routers without much handling, they just read the label and bounce the packet wherever the next bits in the label tell them to. Routers have a responsibility to “keep in touch” with other routers that are numerically close to their address and also routers which are physically close to them.”
Setting up CJDNS
The first and foremost thing to note while setting up Project Meshnet is to set up the CJDNS routing engine on your system. In this article we will be looking at setting up Meshnet on Mac OS X operating system. Unfortunately, CJDNS only works with Mac OS X 10.7 or newer.
First of all, it is important to make sure that you have all the dependencies installed, which includes git and wget. A good thing would be to download the “Command Line Tools for Xcode” from the apple website.
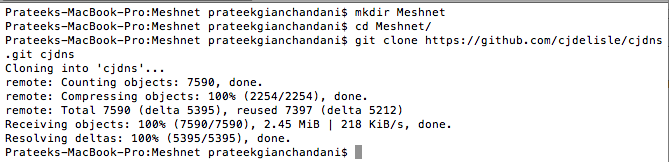
First, lets clone the latest from CJDNS’s github repository.
Then, go to the cjdns directory and build using the “./do” command as shown in the figure below. You will require to have some dependencies like wget etc installed on your system for doing a proper build. Otherwise, the build would fail.
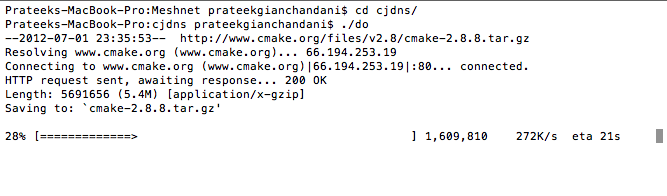
The build would take some time so please be patient.

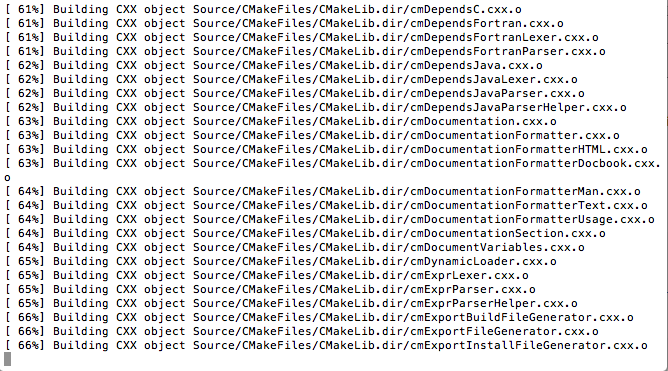
Here’s how it would look like while performing the build. Also, please note that you must have an internet connection during this whole process.
Once the build is complete, you will get a “Build completed successfully” message as shown in the figure below. If you don’t see this message, then something is wrong and the build wasn’t successful.

Now we need to create a config file which will give a public and private key and an IP address for our node. Run the command as shown in the figure below to achieve that task.

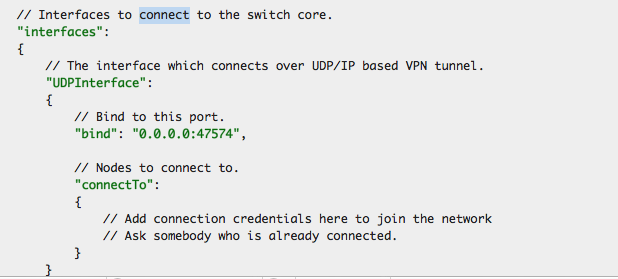
This will create the config file named cjdroute.conf. If you open the file, you will see that we have assigned a Private Key, a Public Key and an IPv6 address. Yes, meshnet runs by tunneling IPv6 packets in UDP/IPv4 packets. This is because CJDNS and Hyperboria are still in the early stages of development.

Right now, since Meshnet doesn’t have a lot of user base around the world, the Meshnet team has made some public peers available around the world to connect to. Please visit http://wiki.projectmeshnet.org/Public_peers for more info regarding that.
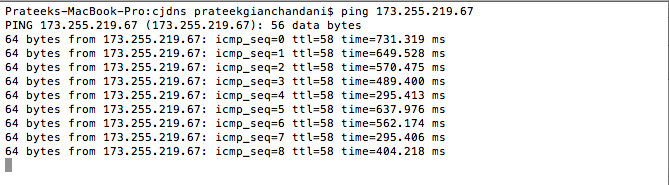
It’s always good to check if these servers can be reached by pinging them before we connect to them using Meshnet. For e.g, in the figure below i am pinging a server in the United States to see if it is reachable.
Next, we need to configure the config file to connect to that peer. If you open your config file, you will see the following section in your config file.
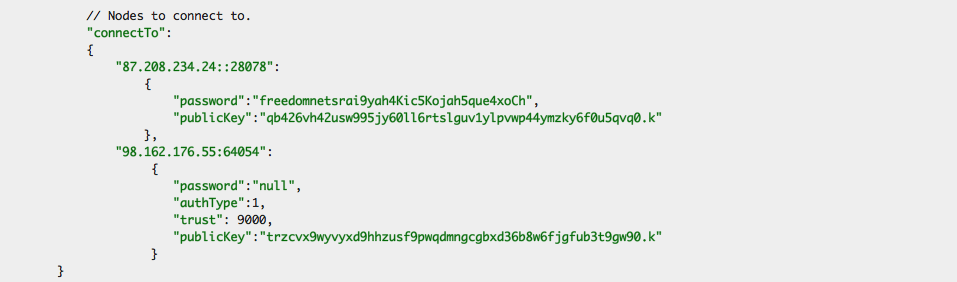
We need to provide the information of the peer that we will be connecting to in this file. As you can see from the figure below, i have configured the config file to connect to two peers. We can connect to a maximum of 3 peers at once. We can also add some more options such as Trust and Auth Type. The trust level signifies how much you trust a peer that you are connecting to. It is advisable to use a higher trust value for those nodes to which you have already connected to in the past. The trust feature has not been implemented in Meshnet yet.
Once you are done with setting up the configuration, start up CJDNS by typing the command as shown in the figure below. You will need admin privileges to run the daemon.
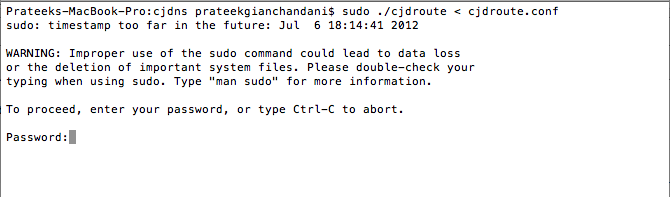
Once you have provided your password, CJDNS will run and you will see the log messages as shown below.
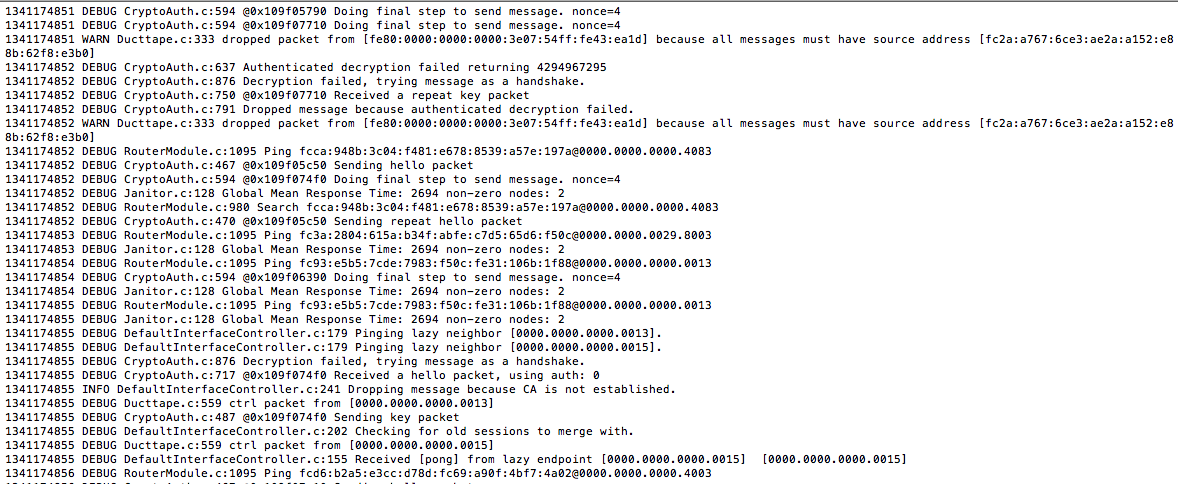

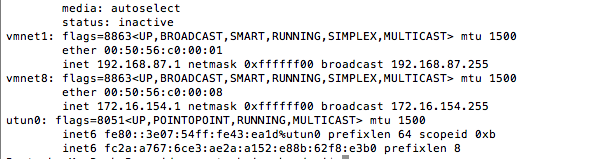
CJDNS is now properly running and communicating with the other peers. If you do a quick “ifconfig” on your system, you will see that a new interface by the name “utun0” has been created. This is the interface used by Meshnet to communicate with the other peers in Hyperboria.
Conclusion
The aim of Project Meshnet is to build a decentralized internet. This will enable users to exchange information easily without a central authority like an ISP which can block or filter their traffic. In this article we looked at how to set up Meshnet on our local system and used the network Hyperboria to initiate connections between some publicly available peers.
Help Project Meshnet
The creators of Project Meshnet are always looking for individuals to help in technical as well as non-technical related fields. Go to https://projectmeshnet.org/ to find out more.
References:
- Project Meshnet
https://projectmeshnet.org/ - MeshWiki
https://wiki.projectmeshnet.org/Main_Page - Mesh Networking
http://en.wikipedia.org/wiki/Mesh_networking
This article was originally published on the resources page at Infosec Institute. For more information, please visit my author page.