
Backtrack 5 R3 Walkthrough part 4
DHCPig
DHCPig is a very nice and handy little tool used to carry out an advanced DHCP exhaustion attack. It does this by grabbing all the IP addresses in its subnet by sending different DHCP requests for those IP addresses. It also finds out its neighbour’s IP addresses in its vicinity and releases their IP addresses by sending DHCP releases to the server. It then waits for a specific timeout on its sent packets, and if the timeout is reached, it means all the IP addresses in the network are now used up.However, some neighbours may still have IP addresses on the network that will have IP addresses conflicting with the IP addresses taken up the attacking machine. In this case, DHCpig can also knock all the windows systems offline by sending gratuitous ARP requests from all the IP address in the network. A gratuitous ARP request is used to check for duplicate IP addresses. If there is another device on the network using the same IP address (our attacking machine), the windows machine will receive an ARP reply from the attacker’s machine. This way, the Window’s machine will know that it has an IP address conflict with another system on the network. As a result, it will try to obtain another IP address but since all the IP addresses are now exhausted, it wont be able to get a new IP address.
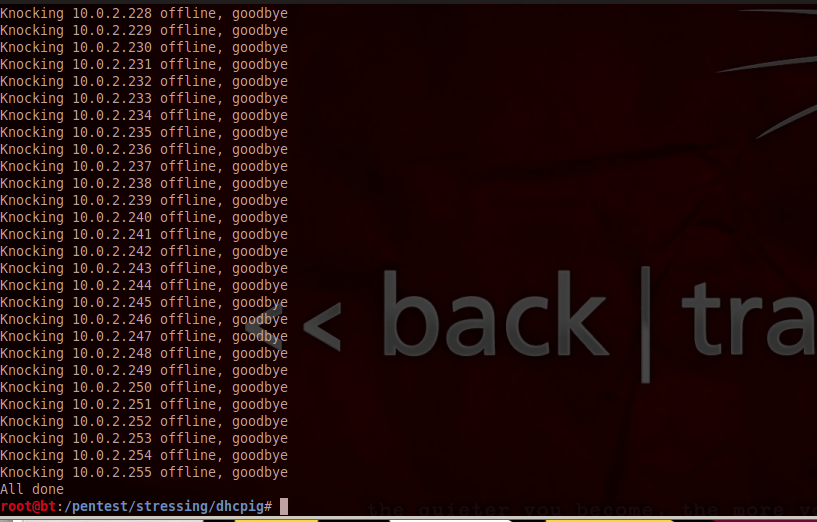
Running DHCPig is as simple as giving just the interface as the argument. Type the command as shown in the figure below to run DHCPig. In the figure below, DHCpig tries to gather all the IP addresses in the network.

At the same time, it also sending DHCPRELEASE for the neighbors that it found on the network.

Once this process is done, it will wait for a timeout for allocation of an IP address and if the timeout occurs, it will try to knock all the systems (windows based) offline by sending gratuitous ARP requests from their IP addresses. Note that this technique won’t work on a linux based system mainly because linux systems will hold on to their IP addresses even if they detect a conflict in the IP address.
If you want to know more about DHCpig, check out its github page.
MitmProxy
MitmProxy is an SSL capable HTTP proxy. It provides a console interface that allows the functionality of inspecting and manipulating traffic on the fly by acting as a man in the middle. Mitmdump is the command line version of mitmproxy. We can also save traffic flowing through the proxy for later analysis, and we can also replay the captured traffic whenever we want. We can also write python scripts to manipulate the traffic on the fly. MitmProxy can be found under the following directory in Backtrack 5 R3.

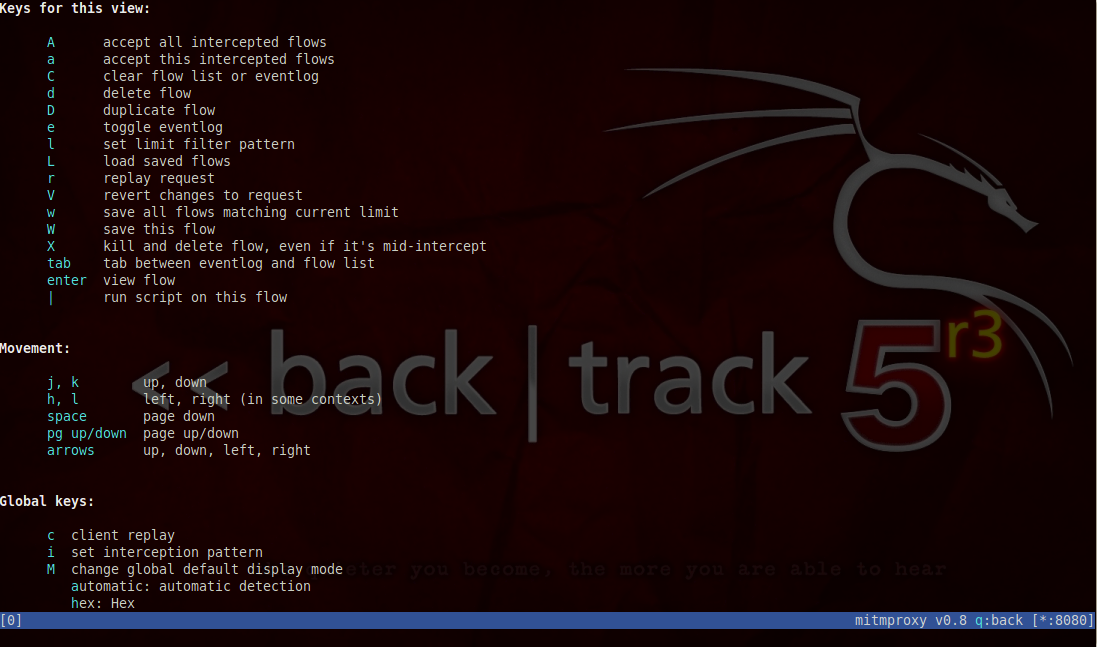
To run MitmProxy, just type ./mitmproxy and it will start the program. By default, mitmproxy listens on port 8080. Hence all the traffic passing through port 8080 would be seen by mitmproxy. Before we configure our browser to use port 8080 as a proxy, lets type “?” and see the different options that are available to us.
Now, configure your browser to use port 8080 on localhost as a proxy. Using our browser, lets now browse to a particular website. You will see that all the requests are being seen by mitmproxy. Notice the 2 arrows “»”. It shows you to select different request/reponse and perform actions on them. You can switch between different request/response using the j and k keys. Intercepted responses will be shown in an orange text. Currently there are no intercepted responses mainly because we haven’t configured mitmproxy to intercept any kind of response. Also, you can see the event log by holding down the “e” key.

We can also select a particular flow and look at the details of it. To select any particular flow just take the pointer (the double arrows) next to it and press enter.

Here you will see all the details of this request. You can also see the response by switching to the response tab. To switch to the response tab, just press Tab.
At any time, you can just press q to go back. Let’s now take a look at how mitmproxy can be used to intercept traffic and modify it. Mitmproxy interception works by taking certain intereption patterns which are python style regular expressions. A complete list of filter expressions can be found on http://mitmproxy.org/doc/filters.html.
Let’s set up a simple filter here. To set up an interception filter, just press “i”.

In this case i am going to set up a filter which looks for the string “ping” in the body and intercepts the request/response if found.

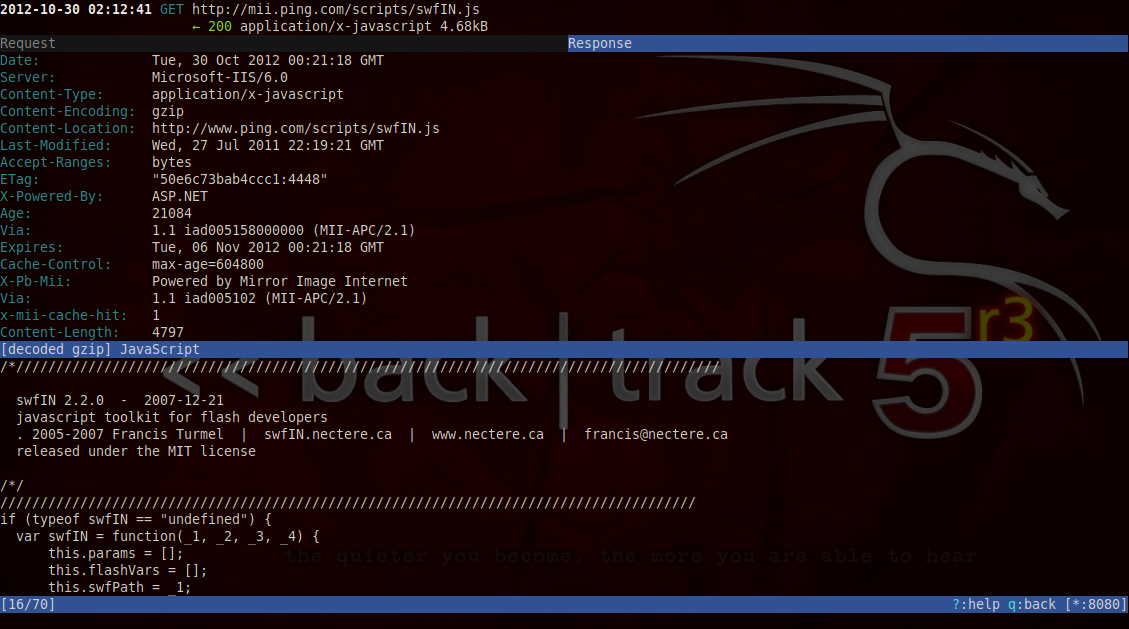
Now lets browse over to ping.com from our browser. You will notice that the response gets intercepted. Intercepted request/reponse are marked with orange text.

If you want, you can edit the response before it is displayed in the browser. Just take your pointer over to it and press enter. Then press Tab to switch to the intercepted response. To edit the response, just press the “e” key and it will ask you which part of the response (code, message, header, raw body) you can edit. In this case, lets select header.

Once you select header, you will be taken to an editor where you can edit the headers. In this case, i can just set the Cache-Control header value to “no-cache”.

Now we need to forward the response, just keep pressing q until you go to the main page where you will see all the flows, then select the flow that was just intercepted.

Now press a to forward this response. You will see that the page will now load up in the browser and the subsequent requests/responses will now show up.

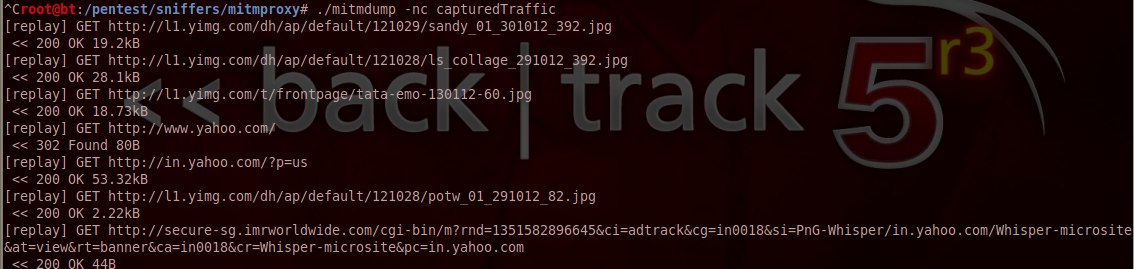
You can also save all the traffic from mitmproxy to an output file. Just use the -w command to specify the output file name and mitmproxy will write all the traffic that it sees onto the output file. In this case, i save all the traffic to a file named capturedTraffic.

Now i can replay all this traffic again whenever i want. Just use the following command to replay the traffic again. This feature could be very useful in automating certain tasks such as connecting to a network or downloading something from a particular url etc. The -n option asks mitmdump to start mitmdump without binding to a particular port.
You can also use python scripts to modify the traffic programatically. The examples folder in mitmproxy contains a set of sample scripts that can help you do the task. ALl these scripts use the mitmproxy API to help perform the task. To know more about the mitmproxy API, go to http://mitmproxy.org/doc/scripts.html
To use the script, just use the -s option and give the location of the script. In this case we will be using a simple script called upsidedowninternet.py that will check for PNG’s in the response and make them upside down.

And the result is images upside down. :). In later articles, we will learn about how we can use Mitmproxy to intercept SSL requests.

References:
-
MitmProxy official website
http://mitmproxy.org
This article was originally published on the resources page at Infosec Institute. For more information, please visit my author page.