
iOS Application Security Part 11 – Analyzing Network Traffic over HTTP/HTTPS
In the previous article, we looked at iOS filesystem and forensics. In this article, we will be looking at how we can analyze the network traffic flowing across an iOS device. Analyzing the network traffic for an application could be helpful in many ways. It could help us deduce how the application is managing the session of its users, the endpoints to which the application makes the call, how the application works internally etc. We will also look at how we can analyze network traffic over SSL.
There are both active and passive ways of sniffing traffic on a network. In case you are interested in analyzing the traffic for a particular device over a network remotely, wireshark is the tool to go for. Just open up Wireshark, start sniffing over the network and add a filter (for e.g ip.addr == 192.168.1.2) so that it shows only the traffic sent or received from your iOS device. It is possible that you may lose some packets if you don’t have a good wireless card.
In case you want to analyze the traffic for a device over SSL, there are plenty of ways to do that as well using a combination of Arpspoof and SSLStrip. However, since we are interested in analyzing network traffic for a particular application, we will be following a different approach. So just to clarify, this article is focussed on Analyzing network traffic and not hijacking network traffic. Also, we can analyze the traffic either over Wi-fi or over cellular. Since we are interested in analyzing the traffic for a particular application, it doesn’t really matter which medium we choose.
Using TCPDump
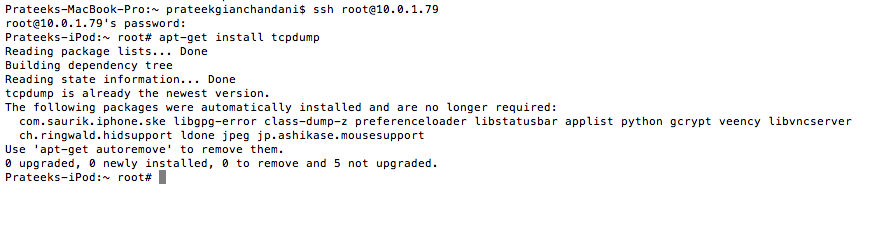
One of the most basic techniques to capture traffic over your device is by using tcpdump. First of all, make sure that tcpdump is installed on your device.
Now, start capturing the data on a particular interface and write the output to a file.

To capture this data over cellular, just change the interface to point to the one related to the IP address provided by your cellular connection.
To analyze this file, you will have to transfer it onto your system and analyze it using Wireshark. However, as you might have already noted, this is a tedious process and there is a much better way to do the entire process using Pipes. More information can be found here. In any case, the information from tcpdump gives us too much of low level information, something that we are definitely not interested in as we are interested in analyzing data from an application level. There is a much better alternative to this using Burpsuite and Snoop-it.
Using Snoop-it
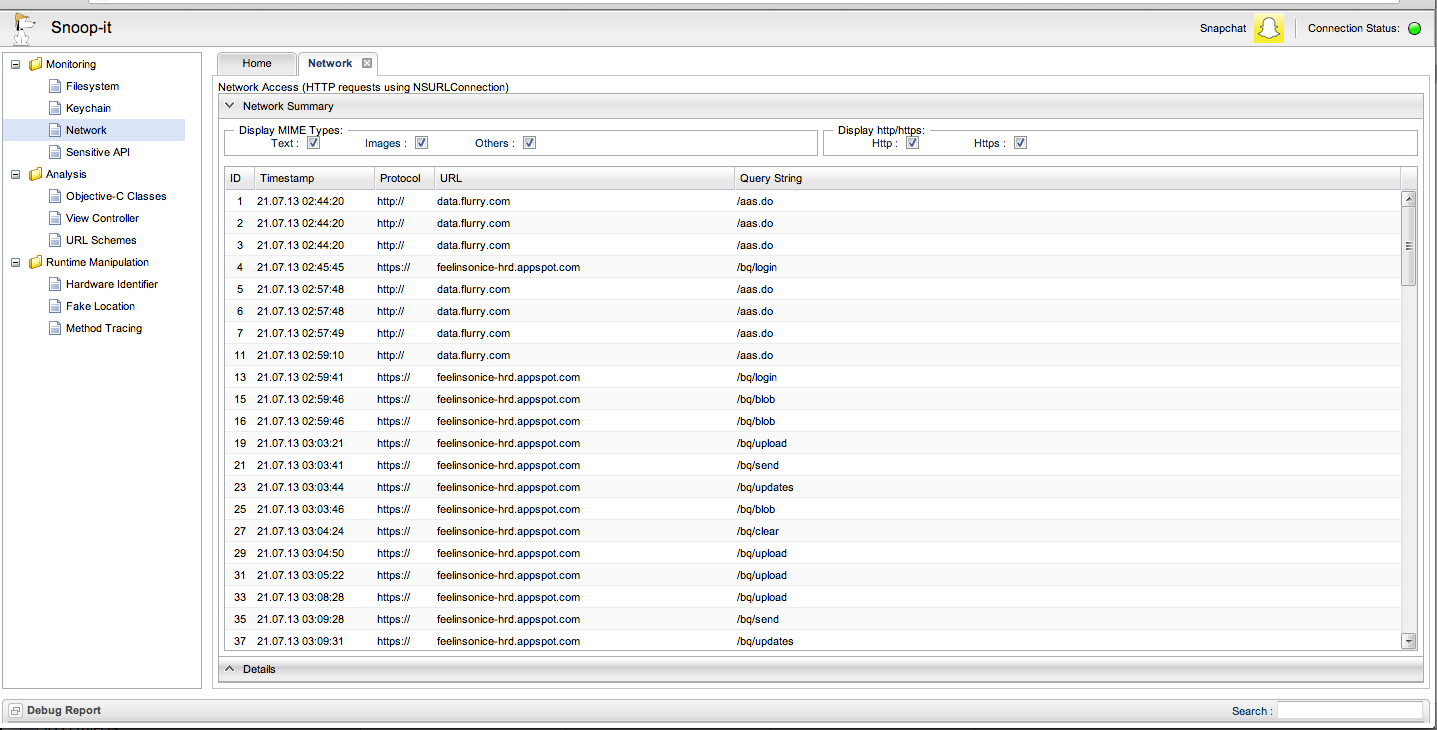
So let’s discuss how to analyze the network traffic through Snoop-it. By the way, if you haven’t seen it yet, check out part 9 of this tutorial series on Snoop-it. In order to see the api or network calls being made, just open any app in Snoop-it and go to the Network section on the left. For e.g, the image below shows the network calls being made in the application Snapchat.
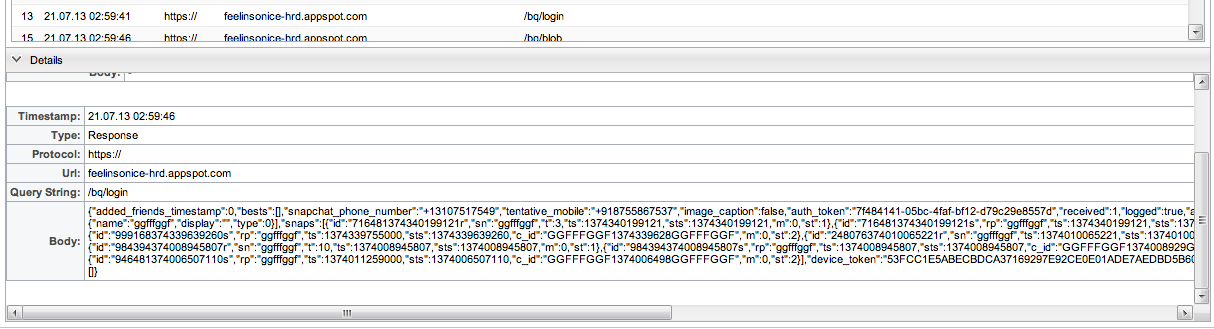
If we tap on a particular request, we can see the contents of it like the query string, the body etc.
Using Burpsuite over HTTP
Again, there is a much better way of showing these requests/responses and Burpsuite stands out among all these tools. Download Burpsuite from its official website. The free edition should be sufficient for the task that we are supposed to perform in this article. Also, if you haven’t used Burpsuite before, check out this article that i have written about Burpsuite. The main task here is to use Burpsuite as a proxy and route all our traffic from it.
Open up Burpsuite, go to Proxy -> Options.

Click on the proxy that is set, click on Edit and select the option All Interfaces inside the option Bind to Address

Here we can edit the port the proxy is listening on, and even add a new proxy listener. Burp also has option of presenting certificates to SSL protected websites. By default, Burp creates a self-signed CA certificate upon installation. The current checked option (shown below), i.e generate CA-signed per-host certificates will generate a certificate for the particular host we are connecting to signed by the CA certificate that was created on installation of Burp

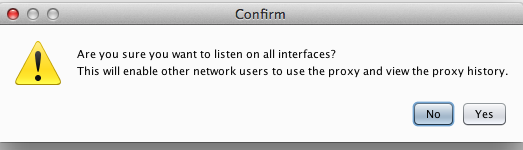
You will be prompted with a warning. Click on Yes. The reason why we selected the option to bind on all interfaces is because we want our iPhone to use our computer as a proxy and hence just selecting the option to bind to the local interface wouldn’t have been enough.
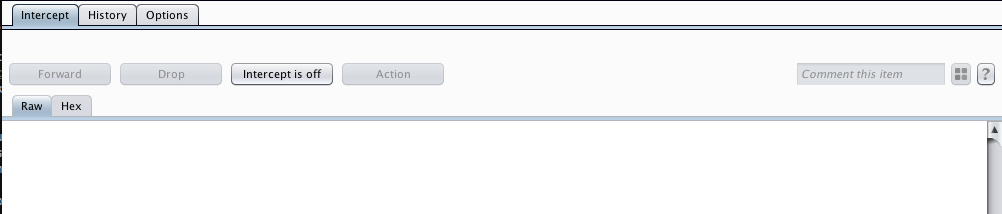
Now, go to Proxy -> Intercept and make sure Intercept is set to off. This is because you may not want to be bothered with forwarding every packet that comes through the proxy.
Now, you will have to tell your device to route traffic through this proxy. On your iOS device, go to the Settings App, click on Wifi, select the network that you are connected to and on its settings, scroll down and there will be an option to set its proxy. Set the proxy as your computers IP address which is currently running Burpsuite and the port as the port on which the proxy is running.

Now that the proxy is set up and we have configured our device to use this proxy, go to any application that doesn’t use SSL (we will discuss SSL later in this article) and try to hang around so that some network calls are made. You will see the requests going though in Burpsuite. Here is the traffic going through for the NASA TV App
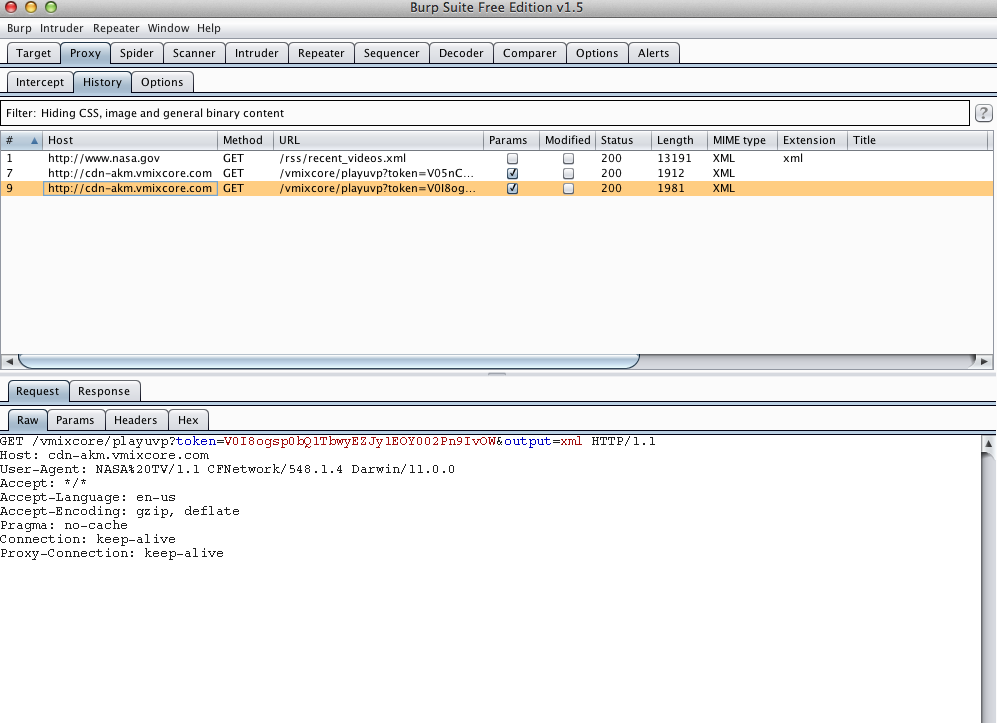
The good thing about Burpsuite is that we can see the packet in Raw and Hex format and also see the Params and the headers for every request and response.

Also, we can see the corresponding response for a particular request.
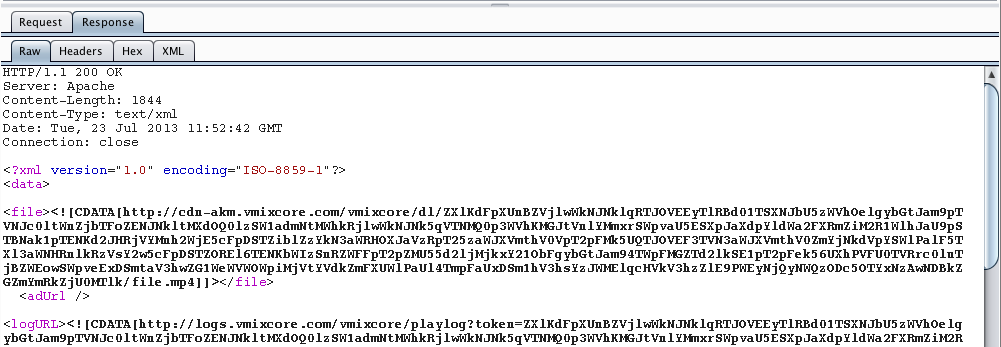
This will help us understand in great detail how an application communicates with the backend, what are the endpoints that get called, and what is the response format.
Using Burpsuite over HTTPS
However, the technique mentioned above will not work for applications that use SSL to communicate with the backend. Some applications are coded in such a way that only SSL connections are allowed. For e.g if you try to run the Snapchat app through this proxy, it will fail. However, some applications will issue a warning and ask to confirm or cancel the connection. For e.g, the screenshot shown below shows a warning from Safari when run using the proxy.

If you click on Continue, you will be able to see the application traffic. Please note that this warning is accepted only for this host currently. If you browse to another website with HTTPS enabled, you will be shown another warning because Burpsuite generates a fake SSL certificate for every host.
Whenever we connect to a HTTPS website via Burpsuite, Burp generates an SSL certificate for each host, which is signed by its own Certificate Authority (CA) certificate. In order to make sure that these warnings don’t come up all the time, we have to validate Burp’s CA certificate as a trusted root on the device. Hence, the steps would be to first get the root certificate, then install it on the device. Once it is on the device and is a trusted root certificate, it can sign all the certificates and all of them will be treated as valid. Please note that the private key for this certifcate is stored in your computer and hence when the traffic passes through the proxy on this computer, Burp can decrypt the data using its private key. The root CA certificate is created once you install Burp on your system.
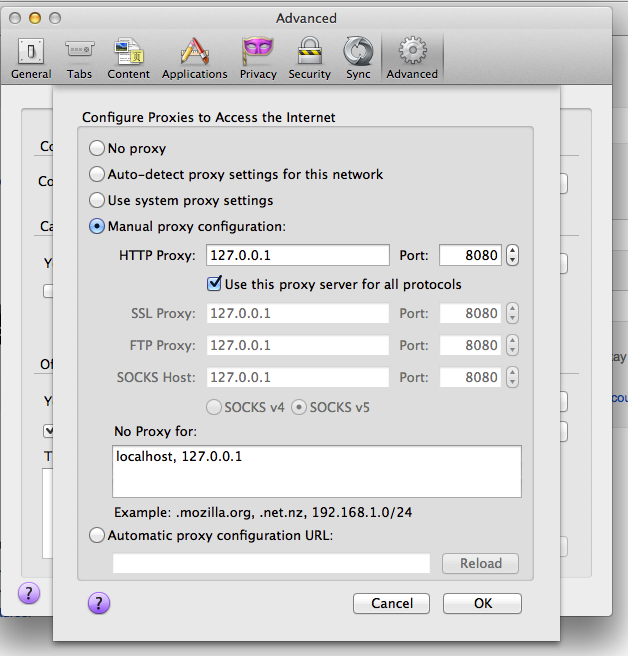
To install the root certificate on your system, first configure your browser to use the Burpsuite proxy.
Then browse to a website that uses SSL. You will be shown a warning
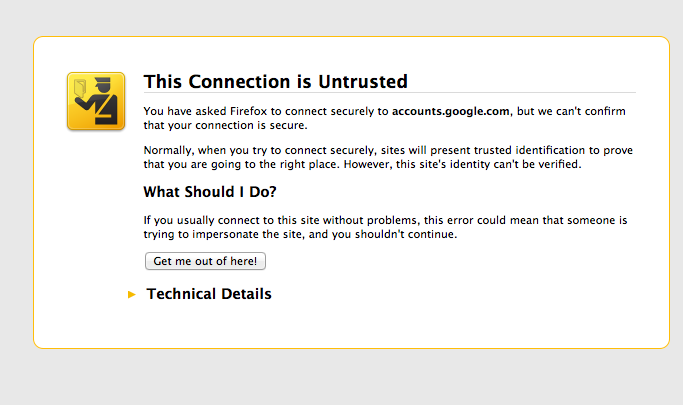
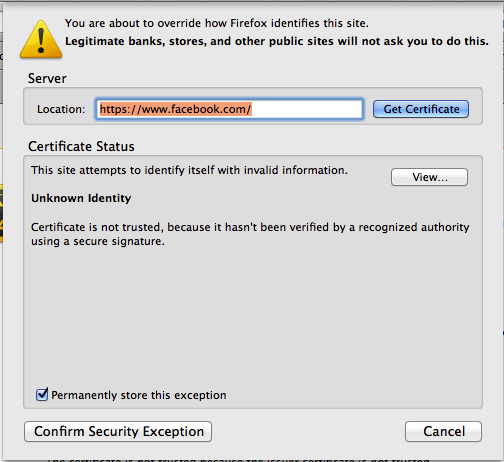
Now our job is to export the root certificate which is used to sign all these certificates. For the domain gmail.com, it is not possible to export the root CA certifcate because we cannot add an exception to the gmail domain. Every domain can enforce a policy of this kind. However, facebook allows us to add an exception. Go to facebook.com using Firefox. You will get a warning. Tap on I Understand the Risks and tap on Add an Exception

Then, click on View
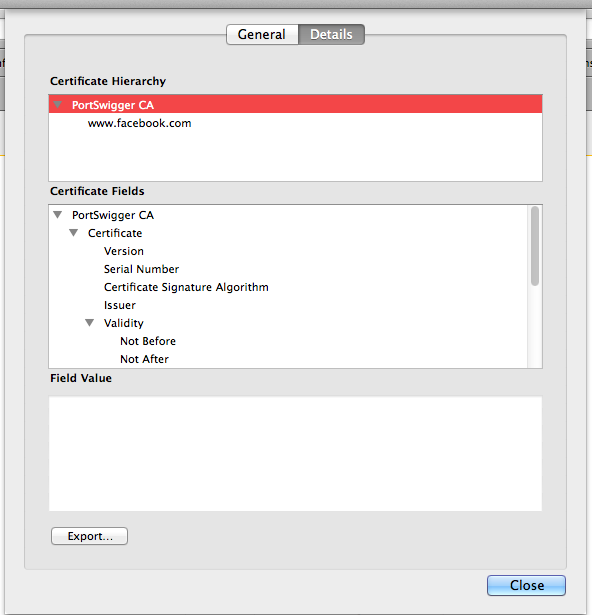
Go to the Details tab and select the topmost certificate in the hierarchy. This is the root CA certificate. Then click on Export and save the file with an extension of .crt
These steps can also be found on Burp’s documentation. Here is a screenshot from this link.

Now, send this file to your device. Using appropriate social engineering skills, an attacker can get this certificate installed on a device as well without the user knowing its actual consequences. Here is the warning that you get when you open up this certificate. Tap on Install
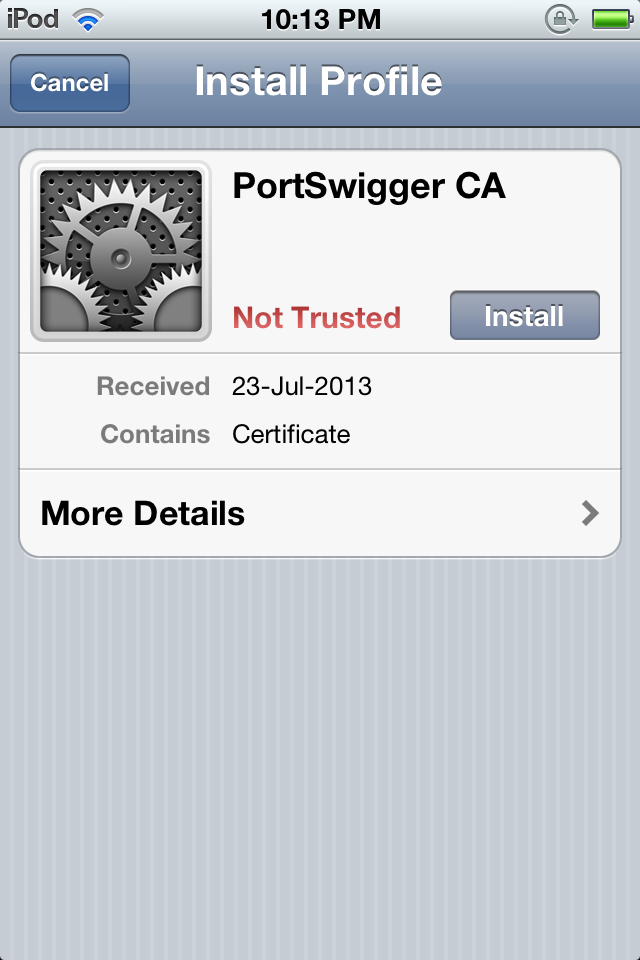
Tap on install again. As you can see, the warning is pretty clear over here.

Tap on done once you are finished.

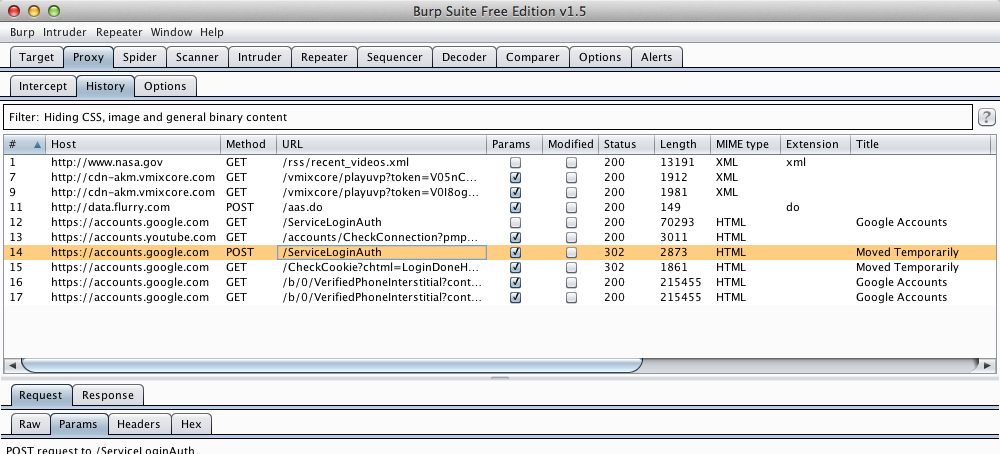
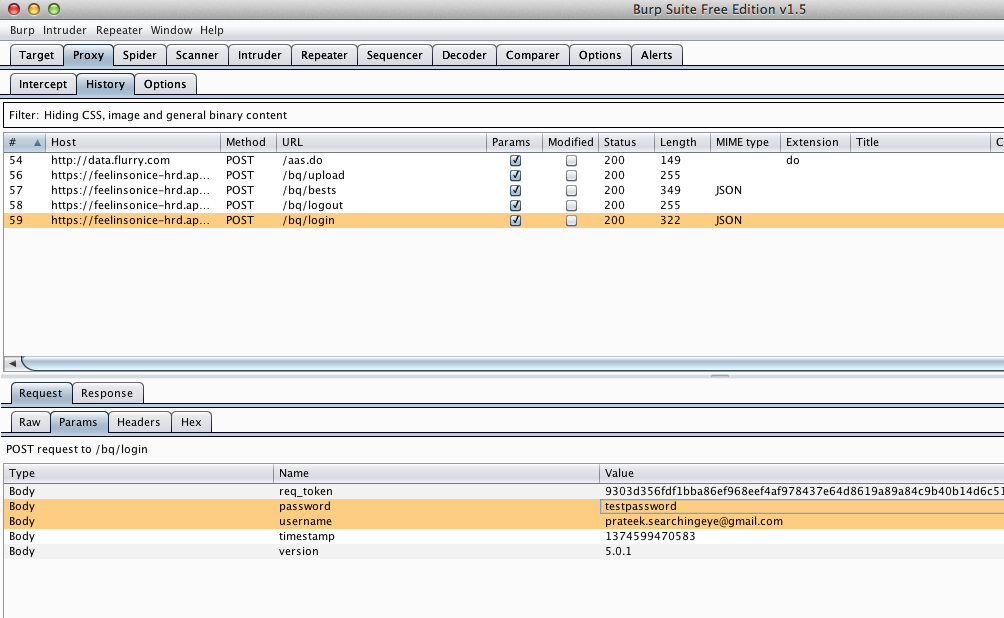
Now, since this root certificate is treated as valid, every certificate signed by this root certificate will be treated as valid and applications will allow data to be transferred. So now, the Snapchat application that previously wasn’t allowing us to transfer data with the fake SSL certificate will now allow the data to be transferred successfully. This traffic will be intercepted by Burpsuite. As you can see from the figure below, in the login call, we can see the username and password being sent as well as other api calls made by the application.
 Conclusion
In this article, we looked at the different ways in which we can figure out the network traffic flowing across an iOS device . Knowing what endpoints get called, what are the requests and response, what are the headers and params etc will help us a lot in figuring out how the application works internally.
References
- Installing Burp’s CA Certificate - IPhone
http://portswigger.net/burp/help/proxy_options_installingCAcert.html#iphone